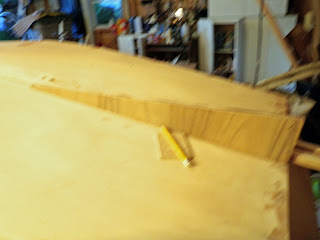


After installing the rails and breasthook, I flipped the boat over and glassed the chines. I used 6-inch wide biaxial tape, which is lower profile than woven cloth.( Its knitted, so doesnt have the ins and outs of a weave). It also doesnt have a hard selvage edge to have to sand and fair in smoothly. Its also stronger.
First I dry fit a cut piece of biax. Then I applied epoxy resin to the chines. Then I smoothed the fabric in with a plastic spreader. then I used a spreader and brush to apply more resin atop the fabric, wetting it out.
After that cured for 24 hours, I applied another coat of resin to fill the weave, "painting" it wide of the fabric edge to help fair it in. After that cured, I mixed Microlight fairing filler with resin and "bogged" the chines, making a real smooth transistion from glass to wood, as you can see.
I then coated the entire hull in epoxy. I wasnt planning in this--its optional really, adding weight and expense--but I had som many drips that I brushed out from apllying the 'glass to the chines, that the boat was half-coated already. So I just rolled on another coat,tipping-off with a foam brush to remove the stipple.
Finally, you see the glass-like surface and the new "owner" in the shop for a progress check (my daughter Keira)


